Setting up Airflow and dbt Cloud
1. Install the Astro CLI
Astro is a managed software service that includes key features for teams working with Airflow. In order to use Astro, we’ll install the Astro CLI, which will give us access to useful commands for working with Airflow locally. You can read more about Astro here.
In this example, we’re using Homebrew to install Astro CLI. Follow the instructions to install the Astro CLI for your own operating system here.
brew install astro
2. Install and start Docker Desktop
Docker allows us to spin up an environment with all the apps and dependencies we need for the example.
Follow the instructions here to install Docker desktop for your own operating system. Once Docker is installed, ensure you have it up and running for the next steps.
3. Clone the airflow-dbt-cloud repository
Open your terminal and clone the airflow-dbt-cloud repository. This contains example Airflow DAGs that you’ll use to orchestrate your dbt Cloud job. Once cloned, navigate into the airflow-dbt-cloud project.
git clone https://github.com/sungchun12/airflow-dbt-cloud.git
cd airflow-dbt-cloud
4. Start the Docker container
You can initialize an Astronomer project in an empty local directory using a Docker container, and then run your project locally using the start command.
Run the following commands to initialize your project and start your local Airflow deployment:
astro dev init
astro dev start
When this finishes, you should see a message similar to the following:
Airflow is starting up! This might take a few minutes…
Project is running! All components are now available.
Airflow Webserver: http://localhost:8080
Postgres Database: localhost:5432/postgres
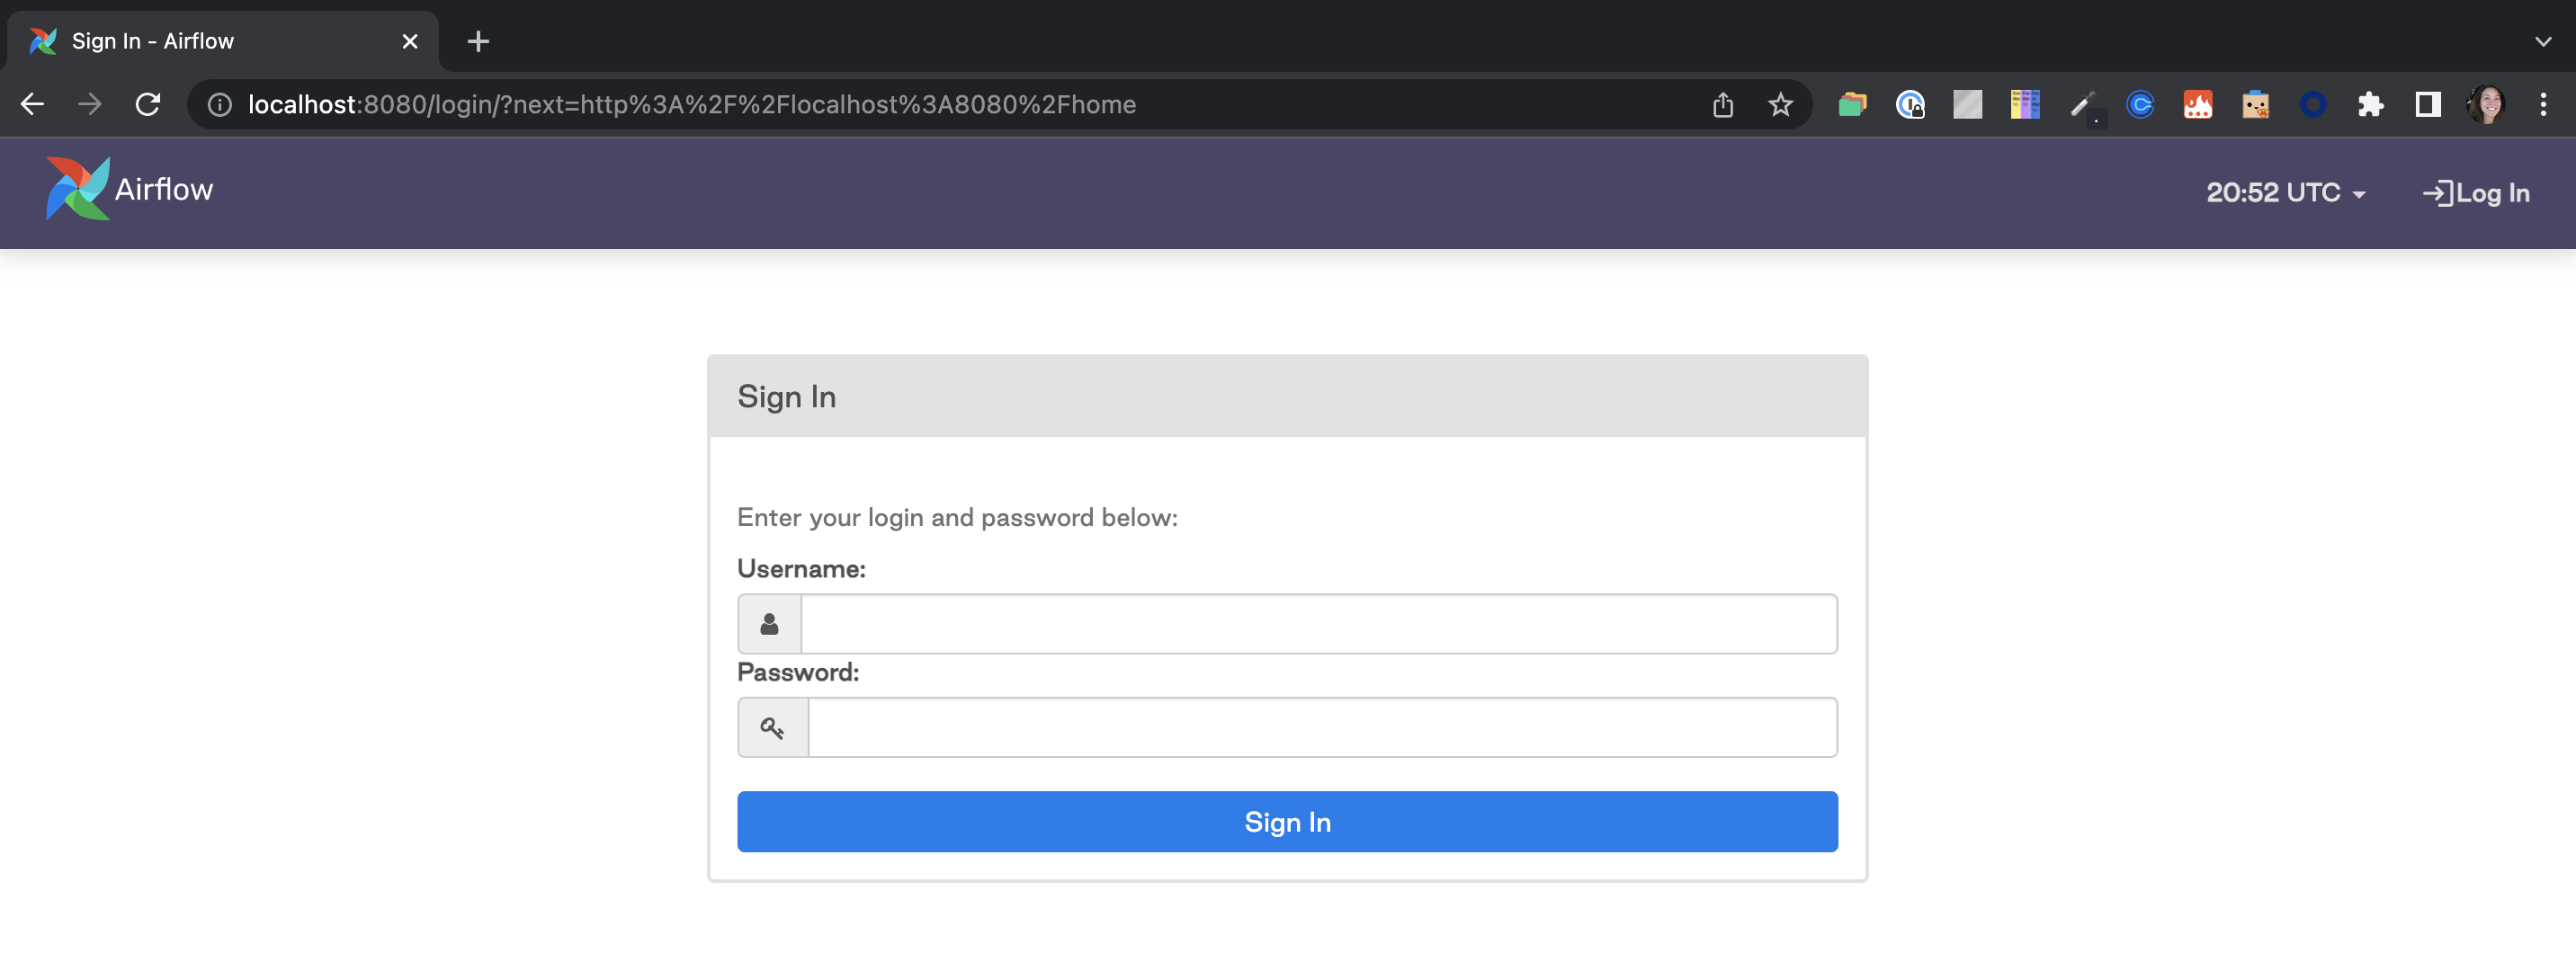
The default Airflow UI credentials are: admin:admin
The default Postrgres DB credentials are: postgres:postgresOpen the Airflow interface. Launch your web browser and navigate to the address for the Airflow Webserver from your output in Step 1.
This will take you to your local instance of Airflow. You’ll need to log in with the default credentials:
- Username: admin
- Password: admin
5. Create a dbt Cloud service token
Create a service token from within dbt Cloud using the instructions found here. Ensure that you save a copy of the token, as you won’t be able to access this later. In this example we use Account Admin, but you can also use Job Admin instead for token permissions.
6. Create a dbt Cloud job
In your dbt Cloud account create a job, paying special attention to the information in the bullets below. Additional information for creating a dbt Cloud job can be found here.
- Configure the job with the commands that you want to include when this job kicks off, as Airflow will be referring to the job’s configurations for this rather than being explicitly coded in the Airflow DAG. This job will run a set of commands rather than a single command.
- Ensure that the schedule is turned off since we’ll be using Airflow to kick things off.
- Once you hit
saveon the job, make sure you copy the URL and save it for referencing later. The url will look similar to this:
https://cloud.getdbt.com/#/accounts/{account_id}/projects/{project_id}/jobs/{job_id}/